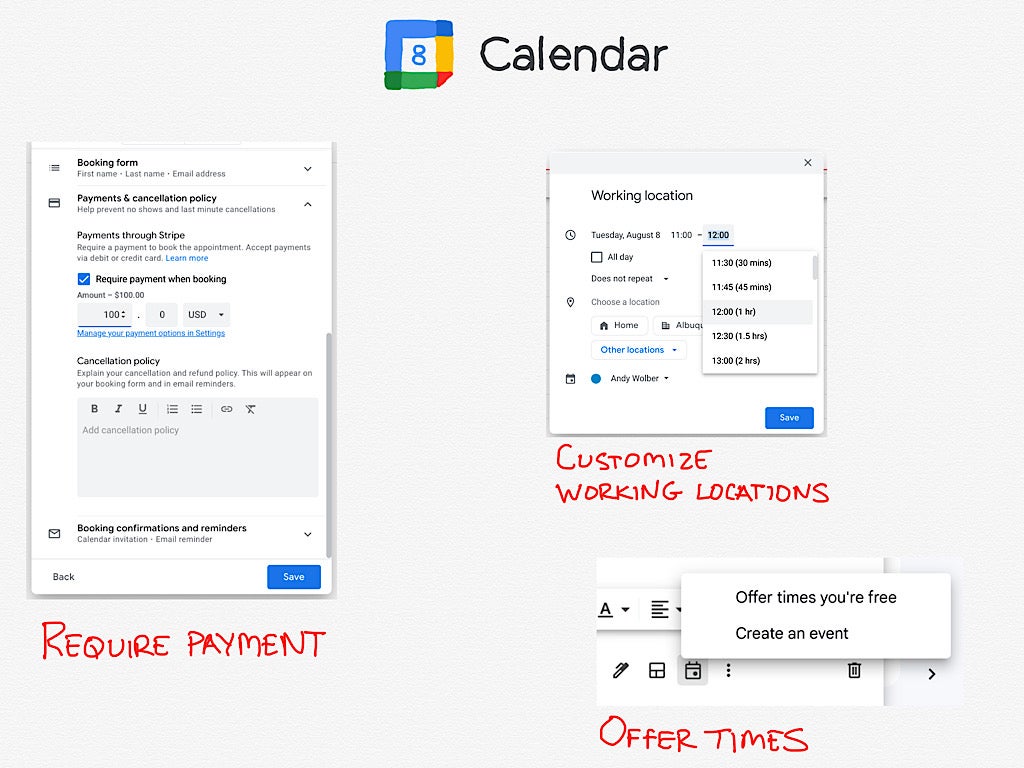
With Google Calendar’s new features, you can offer times to meet in email, convey more than one working location for each day and require payment for booked appointments.

In July 2023, the Google Workspace blog announced three notable enhancements to Google Calendar. A new Calendar option in Gmail makes it easier for two people to find a time to meet. Improved working location settings provide more flexibility to convey where you intend to be during each day. Finally, you can now require people to pay when they book an appointment. The details of how to use these three Google Calendar features are covered below.
Jump to:
How to streamline scheduling in Gmail
In Gmail on the web, a calendar icon in the compose box (Figure A) lets you Offer Times You’re Free or Create An Event directly.
![]()
From the compose box in Gmail on the web, select the Calendar icon.
The Offer Times option only supports one-on-one meetings, while the Create An Event choice can be used to schedule multi-person meetings. Select either option and a side panel opens and displays your primary Google Calendar.
If you chose to create an event, fill in all of the event details in the side panel, such as the event title, date, time, guests to invite, location, Google Meet conferencing details and so on. Select the Save button when you’re done. Then, the system sends the Google Calendar event invitation.
If you select the Offer Times You’re Free option, use the side panel to select one or several blocks of time from the calendar. You also may add information such as an event title, duration, location and conferencing details. After you select the Add To Email button, the options display in a selection box within your email draft. When sent, the recipient may select a time with a click or tap.
The Offer Times You’re Free feature can make it simpler to select a time to meet, since a selected time automatically gets added to the calendars of the meeting participants. The feature is available to everyone who uses Gmail and Google Calendar.
How to customize working locations in Google Calendar
You may now configure working locations to indicate different places throughout your day. Previously, you could only specify one working location per day. When configured and shared with your team, colleagues can be made aware of where you plan to be during a workday.
In Google Calendar on the web, select Create | Working Location. This defaults to the standard interface that lets you select both a location (e.g., home, an office or any location) where you plan to work and a duration specified in days. Select the Add Time button (Figure B) to select the specific hours you plan to be in a particular place. For example, you might plan to work from home from 8:00 a.m. until 12:00 p.m., and work in the office that afternoon.

The Add Time button lets you configure specific times you’ll be at a working location.
Additionally, working locations may overlap, with more than one location indicated for a particular time period. For example, you could specify you will be in Mountain View, CA for several days and also indicate working hours at an office. This would show two working locations for you at that time.
Essentially, Google Calendar working locations may be used quite flexibly to convey where you plan to be at any given time, in as general or specific a manner as you need.
The working locations feature is available by default for the Standard and Plus editions of Google Workspace Business, Education and Enterprise, as well as in the Teaching and Learning Upgrade and Nonprofit editions. A Workspace administrator may turn off the feature, if desired.
How to require payment for booked appointments in Google Calendar
When you configure a bookable appointment schedule in Google Calendar, you may now require a payment. Once configured, people will be required to pay via Stripe when they select and schedule an appointment. This makes it possible to leverage your Google Calendar and bookable appointment schedules for business purposes: Requiring payment and an email ensures you’re meeting with actual clients, not spammers.
SEE: How to use Google Calendar appointment schedules (TechRepublic)
The payment feature is available only to people with these Google Workspace account types: Business Standard and Plus, Enterprise Standard and Plus, Education Fundamentals, Standard and Plus, the Teaching and Learning Upgrade, Nonprofits and Workspace Individual editions.
The ability to require payments is turned off by default. For organization editions, a Google Workspace administrator will need to enable the option. To do so, go to the Admin Console | Apps | Google Workspace | Calendar | Appointment Schedules With Payments (Figure C), then check the Allow Appointment Schedule Users To Require Payment For Booked Appointments Through Their Own Payment Provider Accounts box.

A Google Workspace administrator may choose to allow appointment schedule users to require payments.
Each person who wishes to use the option will need to have a Stripe account and a Google Calendar linked to it. After the initial setup, Payments & Cancellation Policy options (Figure D) becomes available within appointment schedule settings. This allows you to specify the amount of the payment and enter any cancellation policy details.

Once allowed, you can configure Payment & Cancellation Policy options for bookable appointment schedules.
Mention or message me on Mastodon (@awolber) to let me know how these Google Calendar features affect your workflows.


